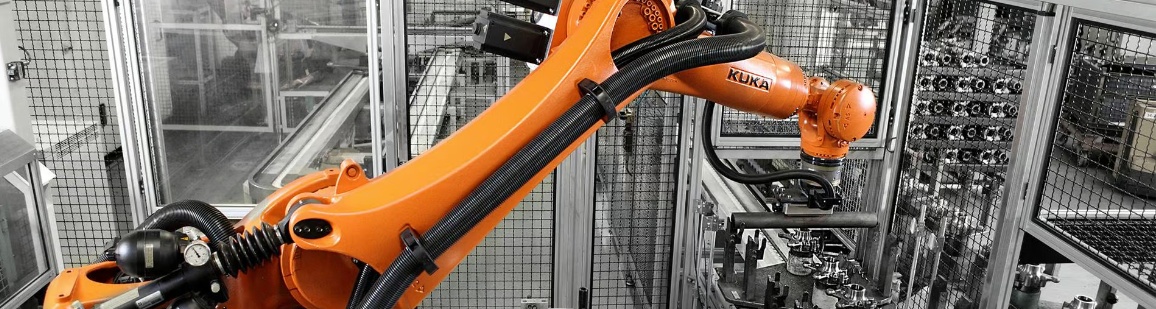

The replacement and maintenance of KUKA robotic arm shaft accessories are the key to ensuring the efficient and stable operation of the robotic arm. The following are the detailed steps and precautions for replacing and maintaining the KUKA robotic arm shaft accessories:
1. Steps for replacing shaft accessories
Preparatory work
Tool preparation: According to the shaft accessories that need to be replaced, prepare the corresponding special tools, such as Allen wrenches, torque wrenches, pin pullers, etc.
Safety precautions: Wear protective equipment such as work clothes, safety shoes, safety helmets and gloves properly to ensure operational safety.
Power-off and pressure release: Turn off the main power supply of the robotic arm and release the pressure of the related hydraulic or pneumatic system to prevent accidental start-up or leakage.
Disassemble the old parts
Positioning and fixation: Use appropriate equipment (such as cranes, hanging equipment, etc.) to fix the mechanical arm to ensure that it does not shake or fall during disassembly.
Loosen the bolts: Loosen the bolts that fix the shaft accessories in the prescribed sequence and torque. Pay attention to recording the tightening sequence of the bolts and the torque value for reference during subsequent installation.
Disassemble accessories: Carefully remove the old accessories from the robotic arm, taking care to avoid damaging the surrounding components or circuits.
Install new accessories
Cleaning and inspection: Clean the installation surface of the new accessories and check for any damage or defects. Make sure that the new accessories match the interface of the mechanical arm.
Apply grease: Apply an appropriate amount of grease to the areas that need lubrication to reduce friction and wear.
Install the accessories: Install the new accessories onto the robotic arm in the correct direction and position, and tighten the bolts with the specified torque.
Connect the circuit: If the new accessory needs to be connected to the circuit, ensure that the connection is correct and firm, and check the insulation performance of the circuit. Testing and Debugging
Power-on test: Connect the main power supply of the mechanical arm and conduct a power-on test to check if the new accessories are working properly.
Functional debugging: According to the functional requirements of the robotic arm, debug and calibrate the new accessories to ensure their performance reaches the best state.
2. Key points for maintenance of shaft accessories
Regular inspection
Visual inspection: Regularly check the appearance of the shaft fittings for any damage, wear or corrosion.
Fastener inspection: Check whether the bolts, nuts and other fasteners of the fixed shaft accessories are loose or damaged. If necessary, tighten or replace them in time.
Lubrication condition inspection: Check the lubrication condition of the shaft fittings to ensure that the grease is sufficient and clean. If necessary, replenish or replace the grease in time.
Cleaning and maintenance
Regular cleaning: Use dry compressed air or a soft cloth to clean the shaft fittings and the dust and debris around them regularly.
Avoid contamination: During the cleaning process, do not directly clean the shaft accessories with water or solvents to prevent damage to their surfaces or internal structures.
Lubrication management
Select the appropriate grease: According to the working conditions and requirements of the shaft accessories, choose the appropriate grease for lubrication.
Regular lubrication: According to the manufacturer's recommended cycle, regularly lubricate and maintain the shaft accessories to reduce friction and wear and extend their service life.
Preventive maintenance
Develop a maintenance plan: based on the usage frequency and working conditions of the robotic arm, formulate a reasonable preventive maintenance plan.
Implement the maintenance plan: In accordance with the requirements of the maintenance plan, regularly carry out maintenance work such as inspection, cleaning, lubrication and replacement of shaft accessories.